I told you I would tell you,
Soooooo
Now I'm gonna tell ya!!!!!
Here's the chair to date.
Adding buttons is fun.
So enjoy it,
'cuz I find most everything else is scary when I do upholstery.
The hardest part of adding buttons is figuring out their placement.
I use large T pins to help with the arrangement.
(See the spot in the center left????? That's on my camera. OY. I have to get this fixed and I don't want to be without my Cannon for any time at all.....)
Anyway...
first I placed the pins where I thought the buttons should go.
It's hard to see.....but there are three in the center.
Then I stood back and thought about it....
Then I added two more pins.
You have to do this with the cushion in place, otherwise the buttons won't relate to how the finished chair will work.
It's important to make sure the buttons are level and line up properly.
That's the hardest part.
I used a level for the horizontal placement.
For the vertical lines, I had the buttons on the sides relate to the stripe, so they curved down and in towards the seat.
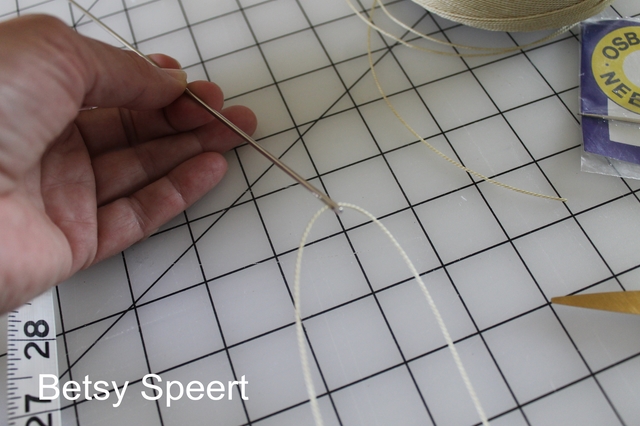
Then I got out my lethal upholstery needles!!!!!
Chose one that would be long enough to stick through the back of the chair.....
I threaded it with my upholstery thread.....
And using the pins as guides, stuck the needle in where the pin hole was.....
Pulled the tread through to the back of the chair.....
leaving one end of thread in the front of the chair.
Then I....
Pulled the needle off the thread and threaded the twine that was still sticking out the front of the chair through the button and then threaded the needle and stuck it again through the chair and out the back.
Then I pulled the thread taught and just let it hang there for a while.
I did this to all the rest of the buttons, just letting the thread hang down in back.
This way, if there were any boo boos made, I could re-position the buttons
I decided that I hadn't screwed up.....
so it was OK to keep going!!!!!
I pulled the button taught, pulling till I liked the way it looked.
Then I stapled it in place on the back of the chair.
The way to secure the buttons, is to attach the string to the closest wooden part of the frame.
Staple the string down, then pull in the opposite direction, staple again, then, pull it back and staple one last time.
I continued to do this with the rest of the buttons.
Then I checked that I liked the way they were set into the back.
I didn't cut any thread untill they were all done, in case I wanted to adjust any tension.
Once I was satisfied....
(don't freak out.....but I got it on the first try!!!!!)
I cut the excess string.
I placed the cushion on the chair, just to be sure.....
and then I took a picture to memorialize my progress!!!!!
Soooooo.....
Here's the progress collage for your enjoyment!!!!!
It's now time to start on the back.
It's GOT to be easier than the front.
On that note,
Latah, Gatah


0 comments:
Post a Comment